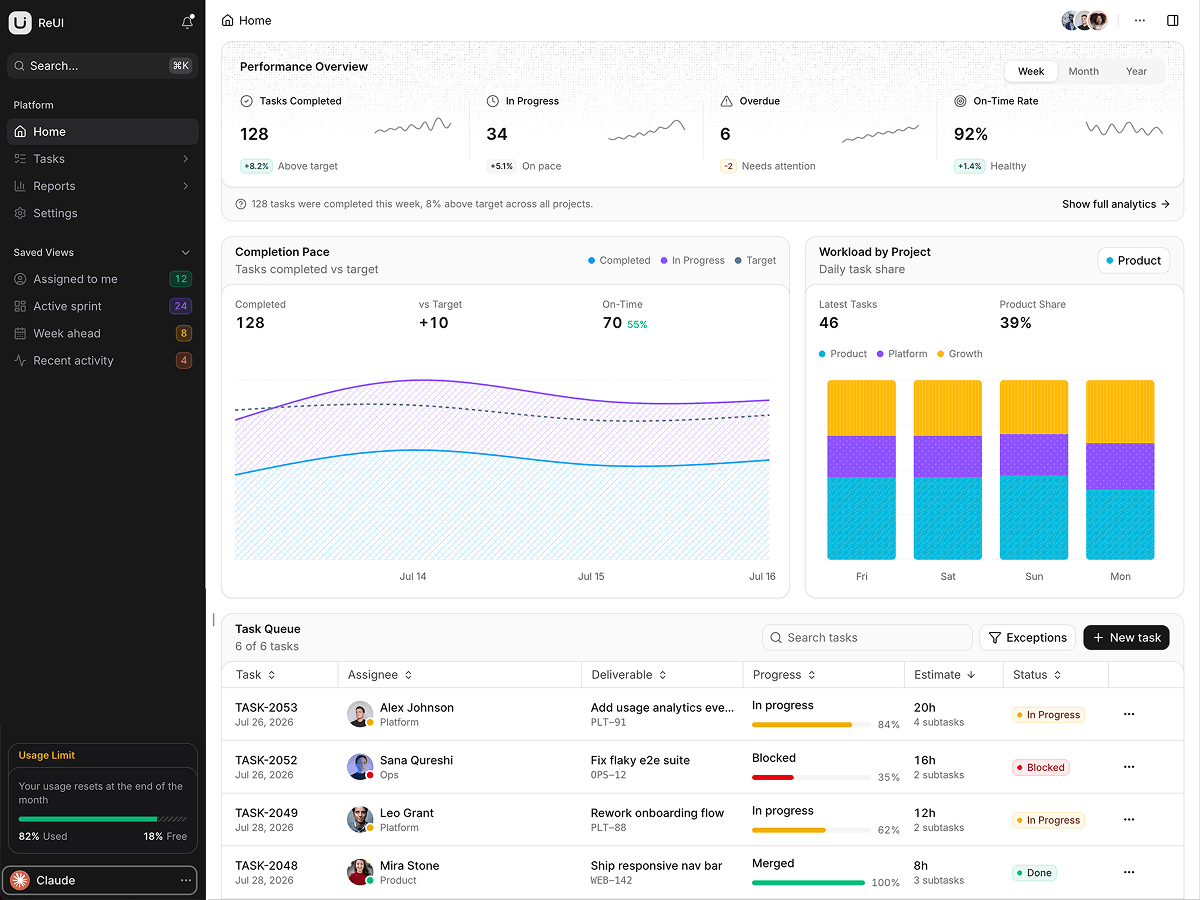
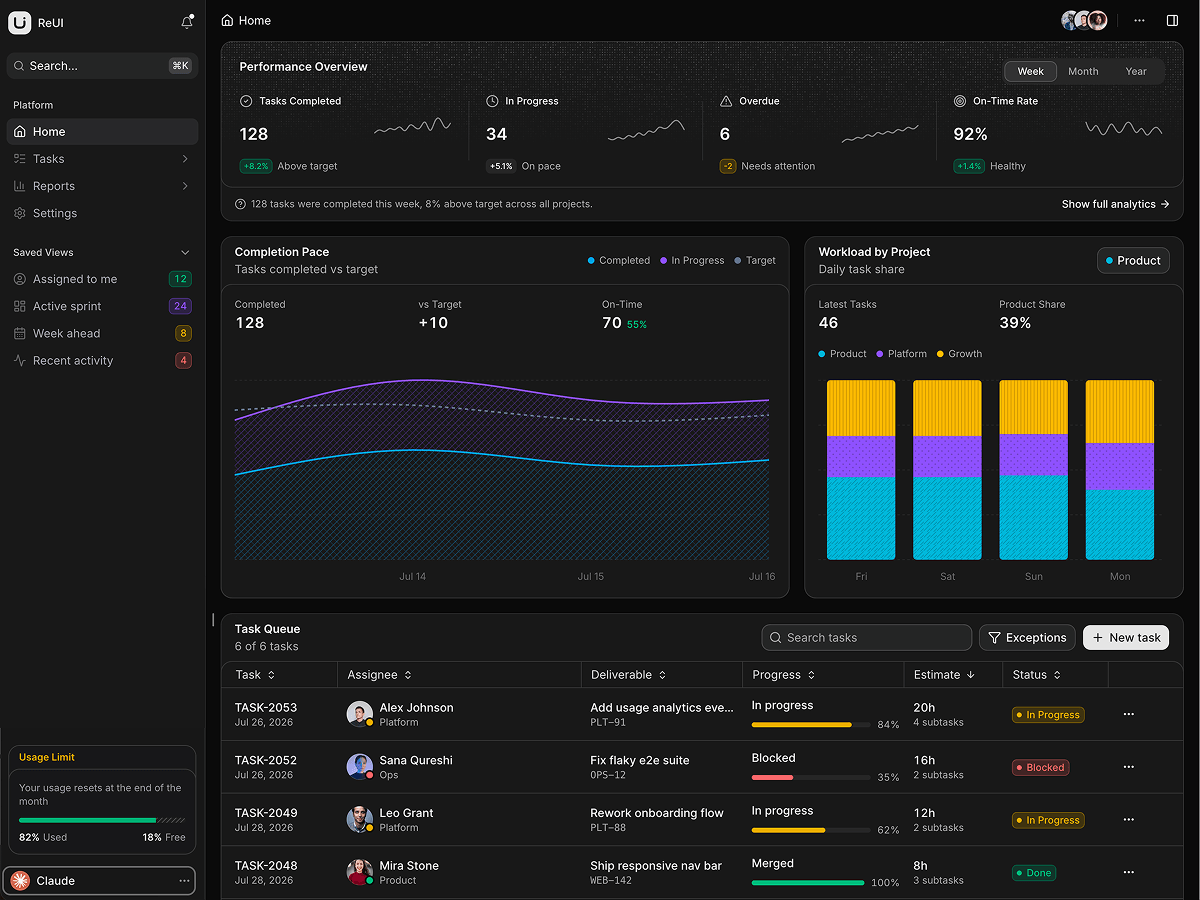
Flux - Next.js AI Agent Console Template
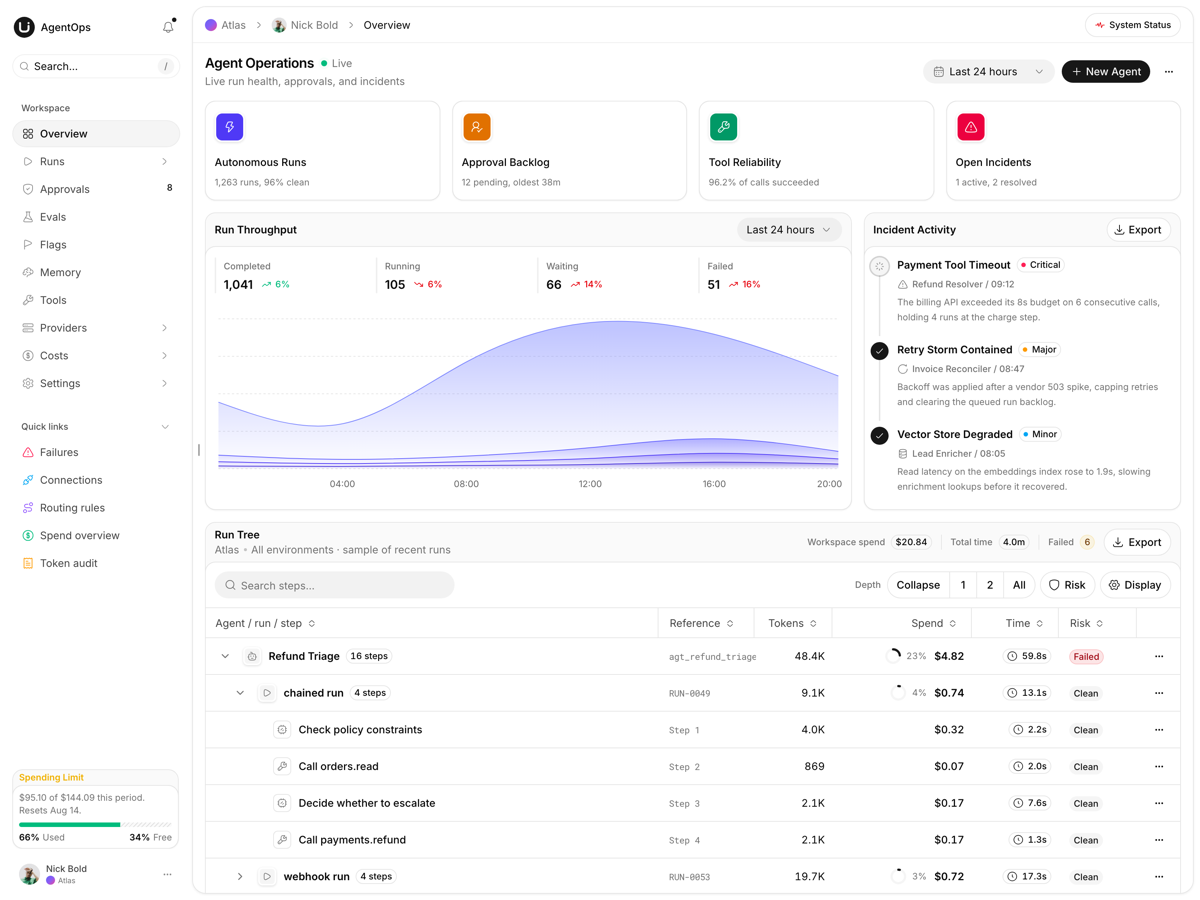
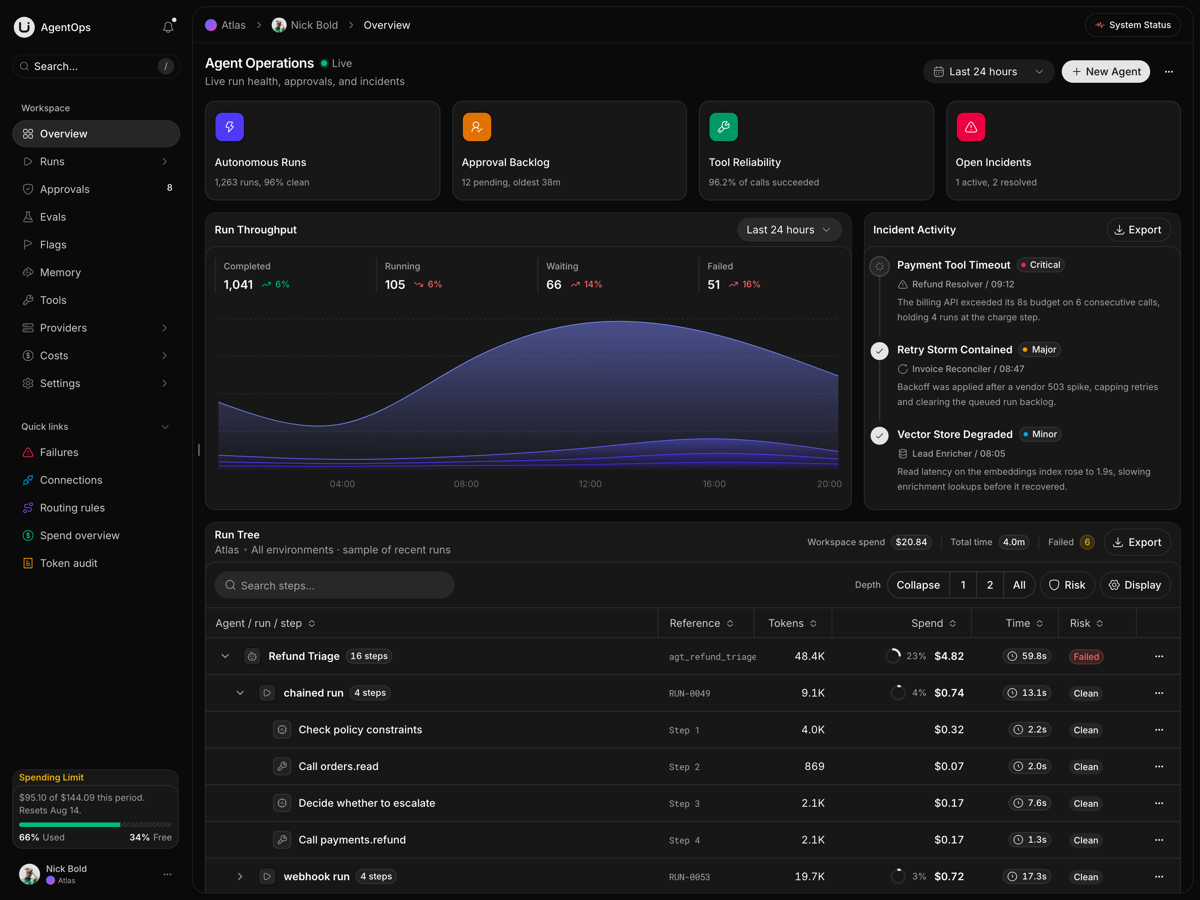
An AI agent operations console: run queue and step traces, human approvals, a tool matrix, eval regressions, provider routing and token spend.
What is included
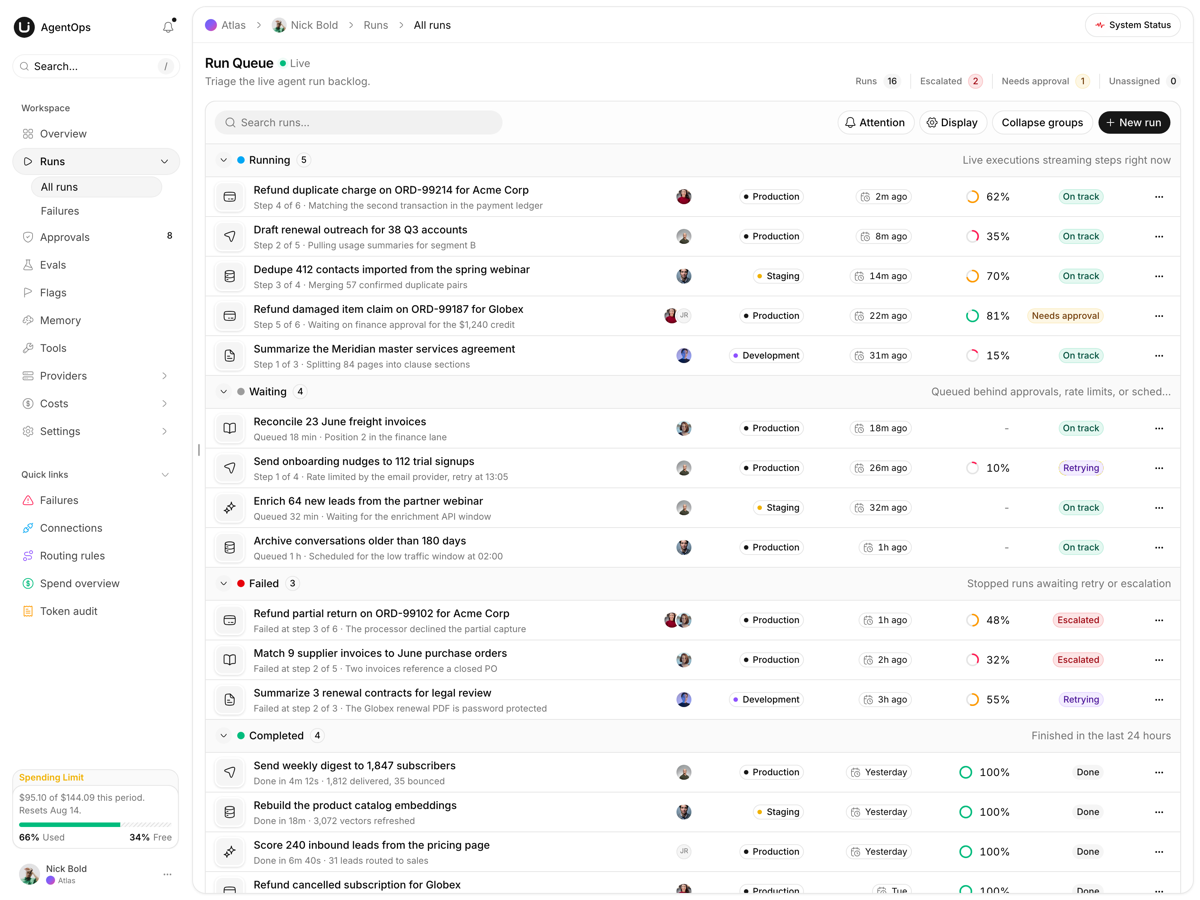
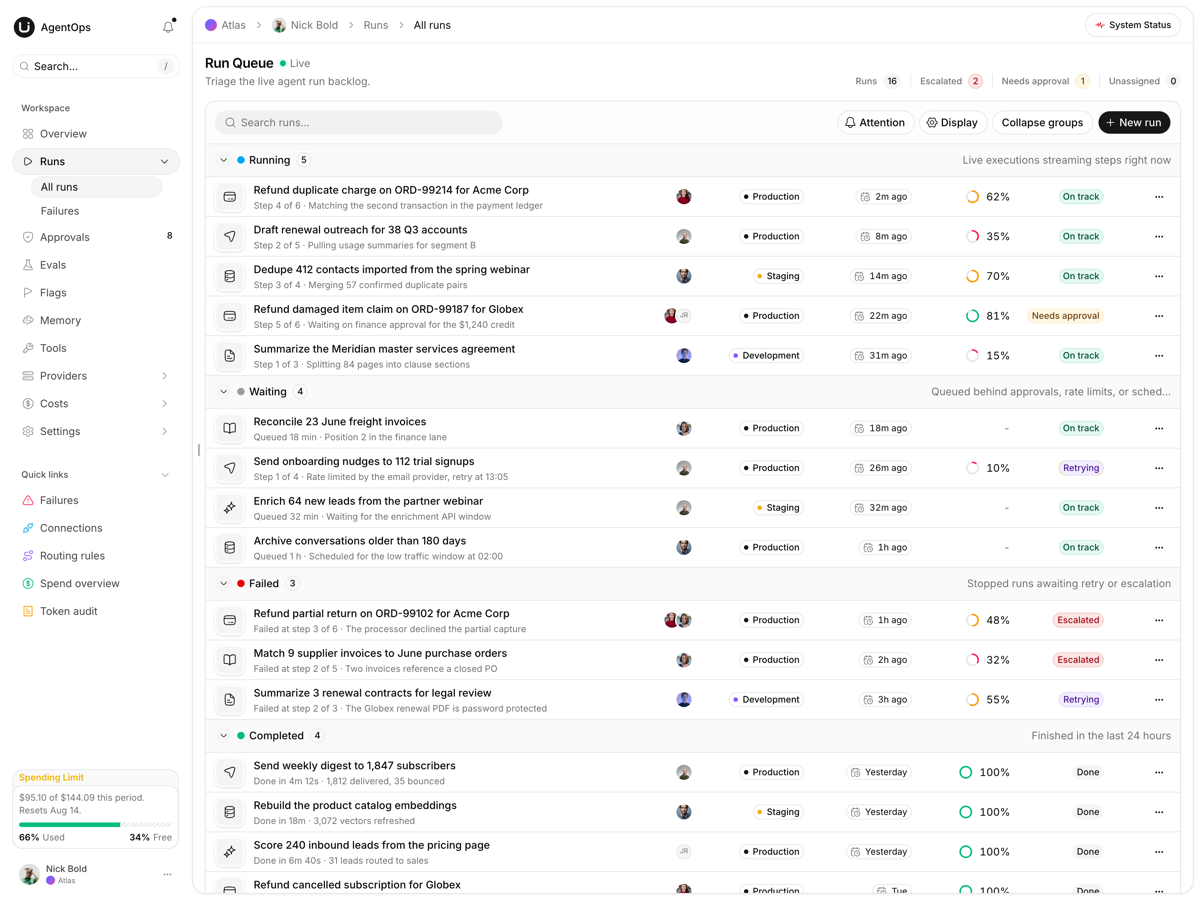
- Run queue that edits. Runs sit in collapsible lanes, and a queued one takes the next RUN key.
- A failed trace, opened. Each step expands to its tool calls, their latency and which of them failed.
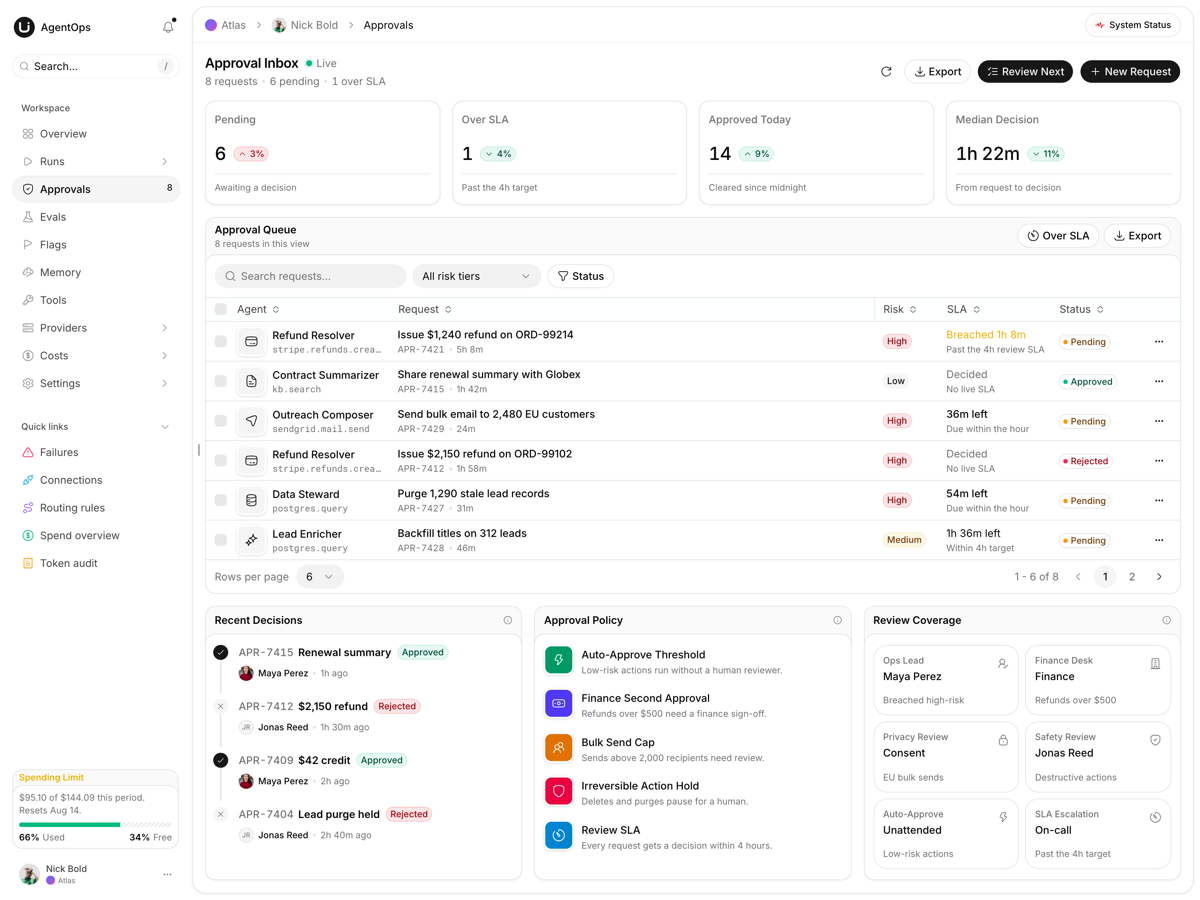
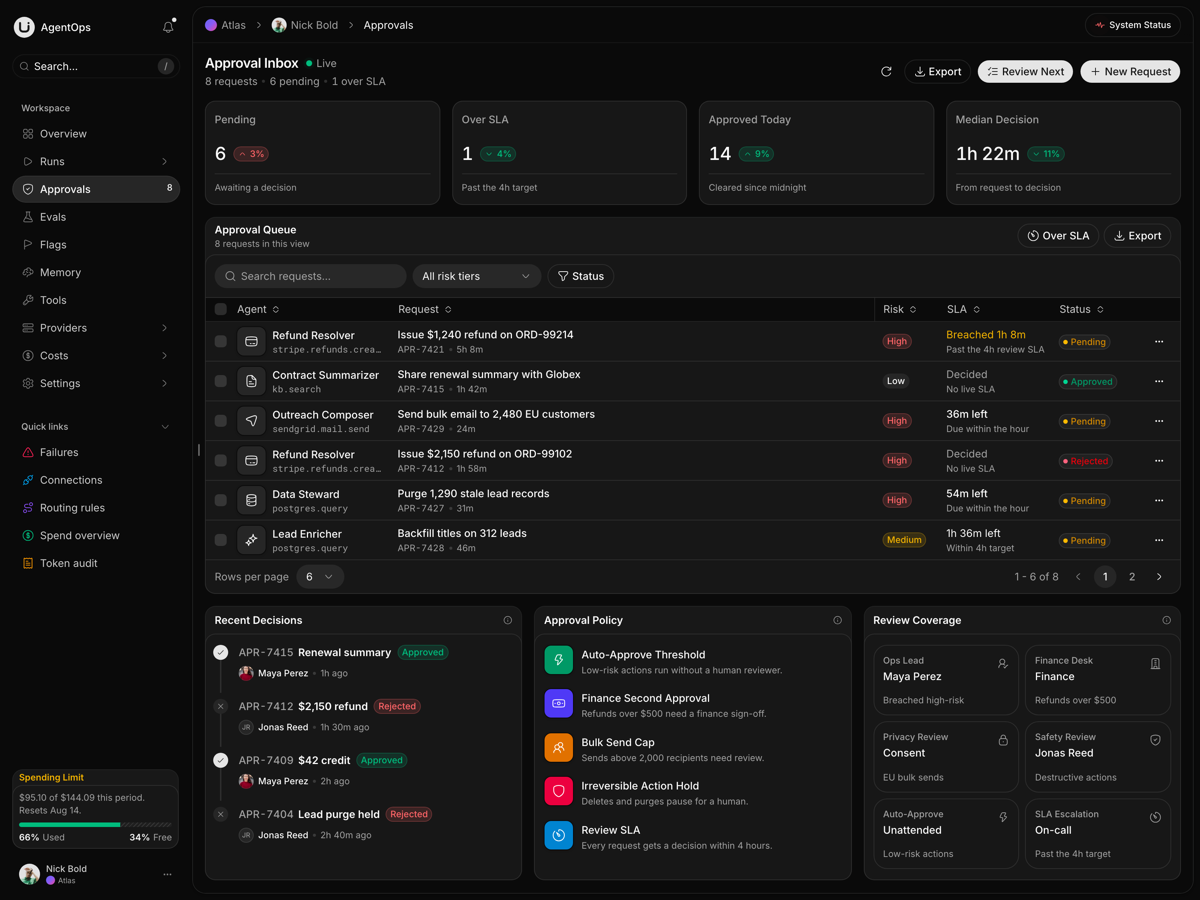
- Approvals with a reason. A four hour SLA counts down on every request, and a rejection will not commit without a reason.
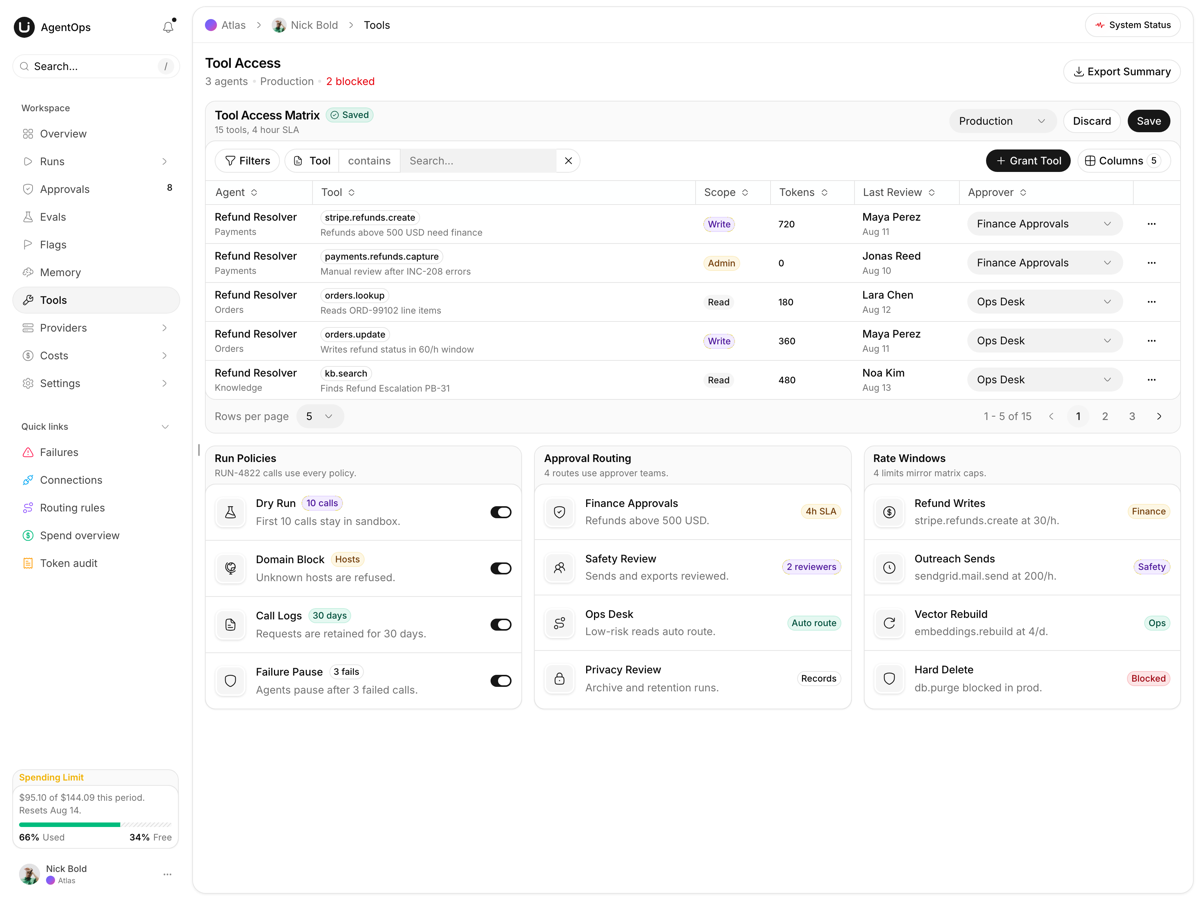
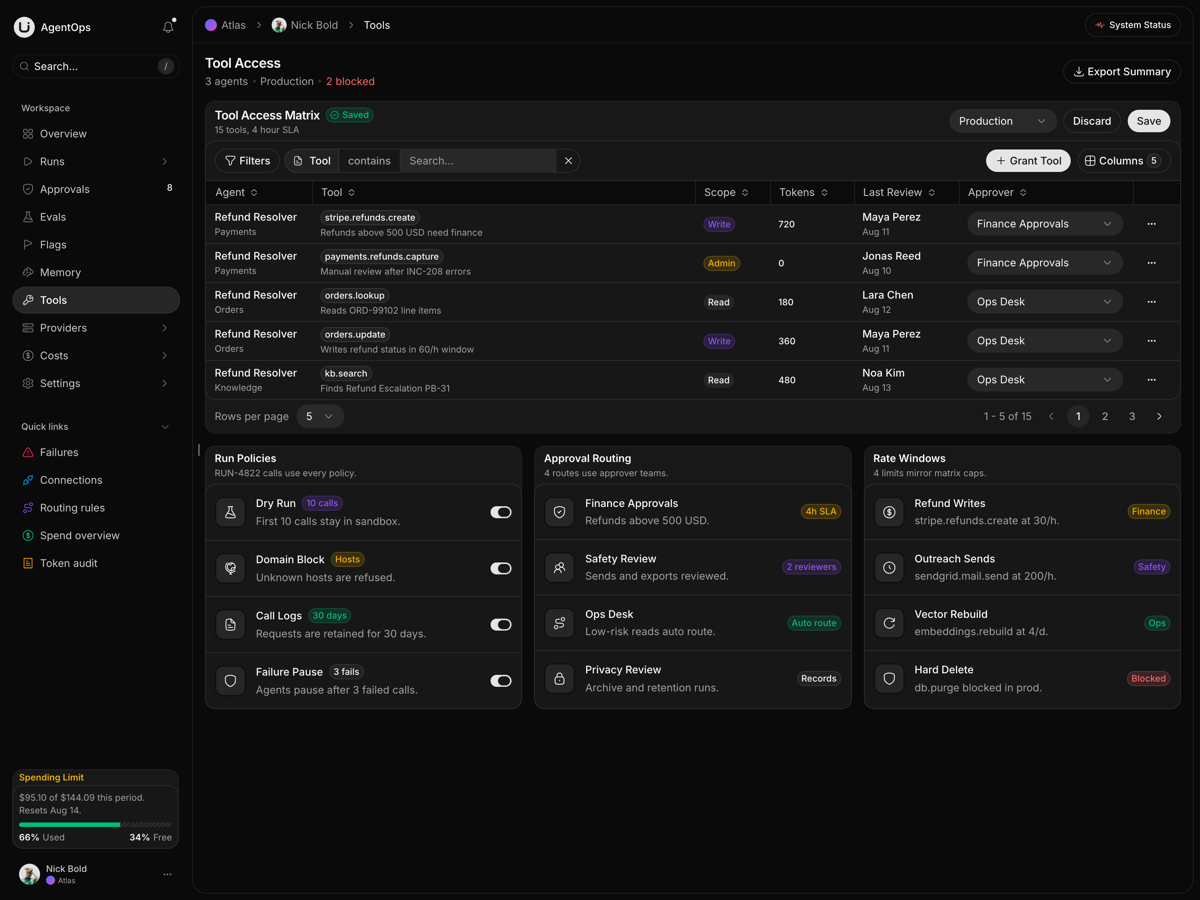
- Tool access per environment. Production, Staging and Development each keep their own draft, and Save refuses an invalid rate limit.
- Eval regressions by release. Every case carries a baseline score, so a suite shows what v2.1.0 broke against v2.0.3.
- Providers and spend. Connections, routing rules, failover, a spend dashboard and a token ledger, each on its own route.
- Shell on live queries. Command-K searches runs, agents and tools, and the approvals badge and spend card read the mock services.
- Exports write files. Every export button writes a real JSON file.
Who it is for
- Startups building an AI agent platform The operator console arrives first, so the work left is wiring it to your runs.
- Teams adding a human in the loop The queue, its SLA and the reject reason are already argued out.
- Platform teams outgrowing a log tail Traces, failure triage and token spend each get a screen instead of a grep.
Frequently asked questions
Does it include a backend, and what happens to a run I create?
No backend. Each screen holds its ReUI block's typed fixture module in React state, so creating a run, approving a request or saving the tool matrix works for the session and resets on reload. A second layer under lib/data/ carries the domain types, seeds, an in-memory store and eleven async service modules, and the shell already reads it for the approvals badge, the spend card, notifications and search. Wiring a page means pointing it at those services, or at your own API, without moving the components.
Is authentication wired, or is the sign-in screen decorative?
It signs you in, but nothing is guarded. lib/auth/session.ts accepts demo@reui.io with demo1234, or any seeded address with that password, keeps a user id in localStorage and mirrors it to a cookie. proxy.ts, which is Next 16's renamed middleware, reads that cookie and performs exactly one redirect: signed in and reaching an auth route sends you back to the console. The console itself is open by design, the six lines that gate it sit commented in proxy.ts, and the Google and Apple buttons are markup only.
How is this different from a generic admin dashboard template?
The screens are agent operations rather than CRUD on a customer table: a step trace that expands to per-call latency, an approval queue on a four hour SLA that will not reject without a reason, a tool matrix drafted separately for Production, Staging and Development, and eval cases scored against a baseline release. Memory is its own table, where every remembered fact carries a confidence score and the run that produced it. One limit worth knowing first: /runs/[runId] renders a single fixture trace, so any id in the URL shows the same steps until you point the route at a run service.
What do I get when I download a template?
The full source of a standalone project: every page, component, route, and style, ready to run locally. Templates are built entirely from ReUI blocks and components, so the code matches the registry you already use.
Do I need a plan to download templates?
Free templates only need a ReUI account, so sign in and download. Every other template is included with the Ultimate plan, alongside all blocks and Motion Icons.
Are templates sold individually?
No. Templates come with the Ultimate plan rather than as separate purchases, so one upgrade unlocks the whole catalog, including everything added later.
How do I install a template?
Download the source, install dependencies with your package manager, add your environment variables, and run the dev server. Each template ships a README with its own setup steps.